Sunday, August 10, 2014

The Coffee Pot: Let's Make Some Plans

Let's start out by revisiting our design goals:

Base Goals:
-Remote Start
-Activity Sense On/Off
-Clock that retains setting through power outage
-Indication for lack of water/grounds
-Brew Complete Buzzer

Stretch Goals:
-Web Interface
-Brew Temp Control
 
Now let's look at them one by one.
 
So how do we implement a remote start?
 
The first thing we need to do is control the on/off switch hands free. Since this switch is passing 120VAC, I will be using a relay for this function. The relay will be triggered by a buffered GPIO on my microcontroller. The microcontroller will also talk to the other half of the remote start, which is the XBee transceiver.

I am choosing XBee for a few reasons. Mainly that the information on Sparkfun makes it look really easy to implement, but the low power aspects, small footprint, and range of it are nice as well. The master plan in play here, is that I will eventually have several XBee remotes on miscellaneous devices around my house, all controlled by the unit that will be born here.

Moving on to the activity sensor. The main thought I had here is that the user should not need to worry about the coffee pot being left on. There is the leaving the house concern, and then there is the making an awful smell by leaving the burner on when almost no coffee is in the pot concern.

The first one is easy to solve. Just have the burner turn off on a timer. Since my next goal involves a clock, and this burner is about as dumb as could be, this will be easy. Yahoo! Answers tells me coffee tastes bad after sitting on the burner for an hour... so lacking an expert objection, I will just go on that (this blog does not recommend using the Yahoo! Answers: Come at me if you know better method of reasoning for decisions less trivial than the shut off time on ones remote control coffee pot). The trickier one is figuring out if the pot is empty before 60 minutes has elapsed. I don't have a firm answer on this yet, but I will be experimenting with range and light sensors with the hope of developing a reliable "coffee/no coffee" detector that can fit in the back of the coffee maker.

Why would I add a clock to a kitchen device that does not have one? There are so many appliances that have clocks that do not need to know what time it is so much as they need to have an awareness of how much time has passed... So why would I add to this lot? Well, the coffee pot this one will be replacing has one... and while that isn't a great reason, it would be nice to have one appliance in the kitchen that keeps reliable time through power outages, if for no reason other than having a convenient source to reset the others from.

So a real time clock is the solution. I will be using a Maxim DS3234 because I found a Sparkfun board using this in a derelict project. I'm unsure on what sort of display I will be using at this point, since part of me still thinks it may be possible to fit this stuff into the existing coffee maker chassis.

Detecting a lack of water and/or grounds is another thing that will take some experiments. I would prefer using some sort of weight/pressure sensor for each, but finding something that is cost effective, and rugged enough without serious modification could be difficult, although this little guy from Sparkfun has potential. Both of these status items will be read by the on board microcontroller and sent back to the "control station". I referred to it briefly earlier, but the control station will receive its own post at a later date, as my plans for it extend beyond this project.

As for a completion buzzer? This could work in conjunction with the water sensor, or just be another function of experimentation and time. I think the time method will be more reliable, given what we learned about the reservoir setup during the teardown.

I will leave the stretch goals for future consideration. I want to make sure I can get my real time clock drivers running first. In my next post, hopefully I will be able to share some firmware!

I know a lot of things were kind of glossed over here, but this post was as much shared brain storm as anything else. I just spent two weekends repairing my lawn mower and catching up on home maintenance hell, so a little bit of mental calisthenics was necessary. Once the project is complete I will share complete schematic, bill of material, and firmware. If I ever sound like I am being intentionally vague, it is probably because I have yet to arrive at a solution I like.

Sunday, July 20, 2014

The Coffee Pot: Unboxing


I had never really considered how a coffee maker functioned before. The general process of getting the water hot, and then dumping it on the grounds is obvious, but how does the machine make it happen? How does it move the water from the reservoir to the basket with the grounds? How does it know when the water is hot enough? How does it do these things with components that come together and sell for profit at a shelf price of $10?


These are not questions that typically occur to me, especially at the time of day and state of mind that leads me to seek caffeine. They occurred to me as I was opening up my coffee pot, but even then... not really in any depth. I figured the switch would heat the reservoir and then it would have some sort of temp sensor and a comparator, and once a level was reached the water would be dumped into the basket with the grounds.

That method would work... but probably not for a product with a sale price of $10. It also would not work for a product where the reservoir and the grounds basket exist side by side, a fact that somehow escaped me. I'm an electrical engineer, dammit! I think in circuits, not... with my eyes???

Anyway, before we get to how this thing functions, I have someone for you to meet:


If this screw had his way, I would not be typing this right now. Instead, I would be googling methods of fashioning custom screw drivers out of melted plastic, and other atrocities.

Thankfully, the plastic on the bottom of the coffee pot is so bendy, I could just release the latches on the back, and fold it away.


 So... There is basically nothing in here. This should not have surprised me. I mean this coffee pot was purchased for $10.

The external switch connects the high side of the AC wall voltage to a heating element. There are two resistors in series with the heating element that I am guessing regulate the current through the element, which is probably cheaper than manufacturing what would basically amount to a horseshoe shape ceramic resistor.

I saw and took a sniff of the white stuff on the edges of the heating element. It's thermal paste! the heating element is not welded to the plate the pot sits on, it is pressed onto by the cross beam seen above. Kind of interesting?

Finally, for completion sake, we have a shot into the reservoir:


I drew a model to help visualize the system:


So the switch is turned on after the reservoir and grounds are loaded (or before, but why would you do that?). The water conduit in the bottom, and the plate that heats the pot are joined to the heating element by compression and thermal paste. As the water heats up it climbs the conduit until escaping into the basket, where it soaks the grounds, and coffee happens.

Next time I will compare the findings of my deconstruction to my design objectives from the previous post and discuss solutions. See you then!


Sunday, July 13, 2014

Project 1: The Coffee Pot

I do not drink coffee. I don't like it black and feel silly loading it up with cream and sugar. Even a tea man such as myself can see flaws in the coffee pot feature set though.

Programmable brewing is nice... But what if I don't get up at the same time every day? What if the power goes out and resets the clock? What if I forget to put water in it? What if I forget to turn it off?
So what are we looking at?
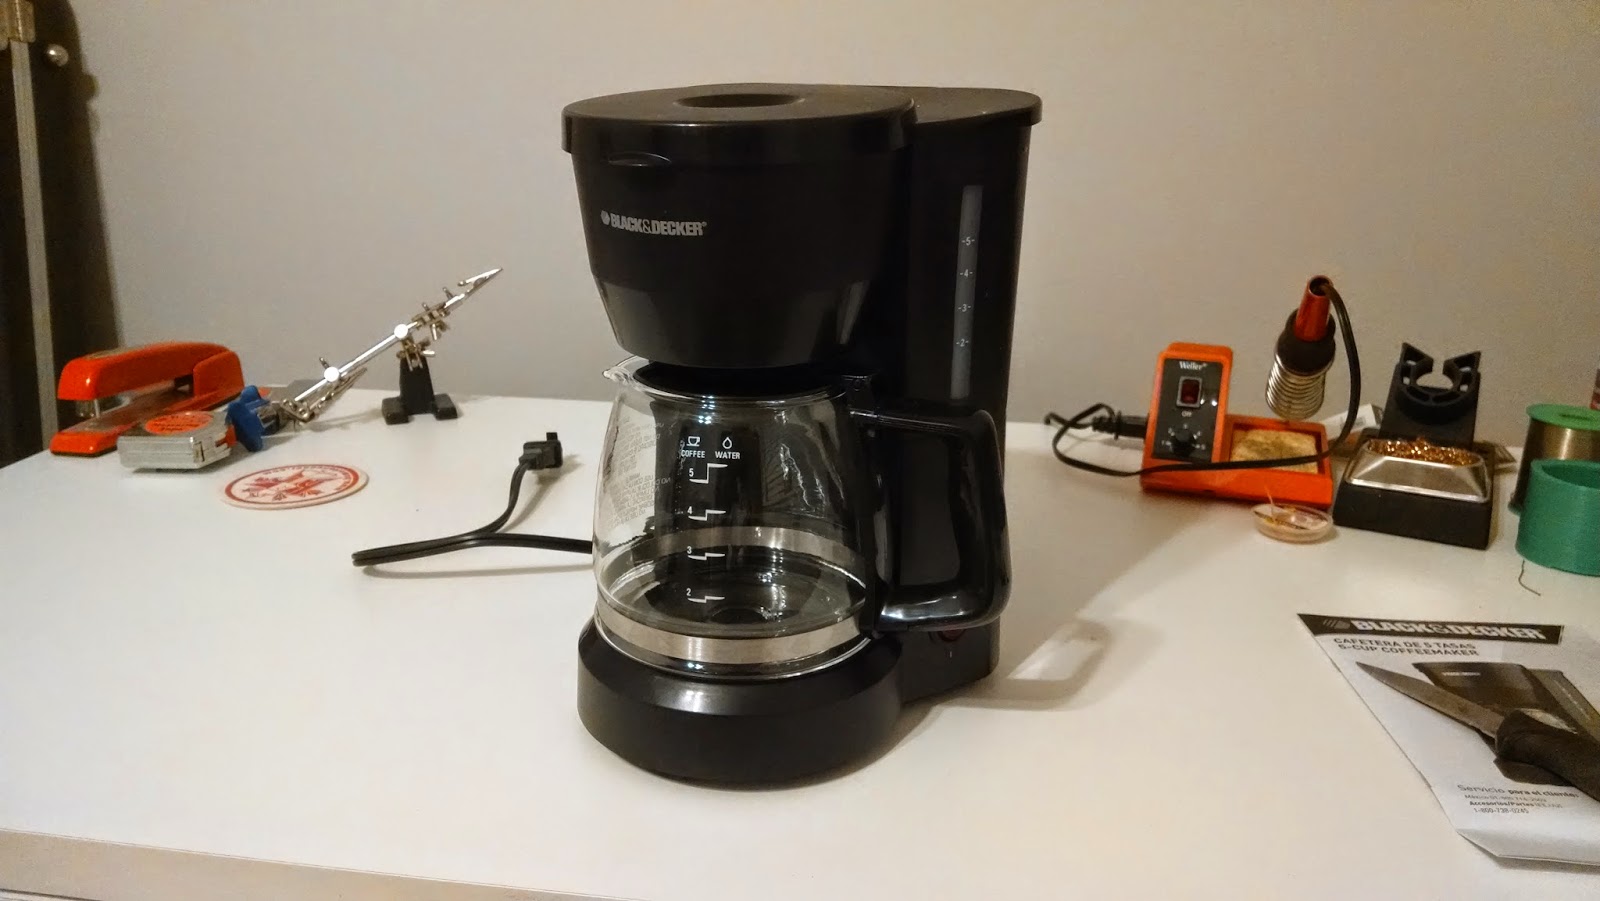
Market Research: Browsing coffee pots in Walmart a year ago.

Side note: There may be realized solutions on the shelf today that do not void a warranty. However, keep in mind that the primary motive of this and future projects is not altruism, but a selfish desire to increase my utility as an embedded system designer.

Base Goals:
-Remote Start
-Activity Sense On/Off
-Clock that retains setting through power outage
-Indication for lack of water/grounds
-Brew Complete Buzzer

Stretch Goals:
-Web Interface
-Brew Temp Control

The setup I have in mind right now will use a couple of MSP430s to setup a ZigBee network, consisting of a remote that will control the coffee pot, and a controller I can keep next to my bed. The controller will be expandable so I can add future home automation devices to it (you know, in case I want to open the garage while I'm in bed... Or something)

NEXT TIME: opening up the $10 coffee pot I bough at Walmart. Complete with #gutshots!!!!

Thursday, July 10, 2014

RESET

There's not really a good way to address my treatment of time other than saying some resolutions fall apart.

CF-1 flight test.jpg

I have not been blogging, obviously, so what have I been doing?

I gained a rudimentary knowledge of C++, changed jobs, and increased the length of my unfinished projects lists! Why is it so much easier to come up with ideas than it is to like, you know... do all of the tedious stuff necessary to complete them?

Well, mainly because daydreams are the fun part! Figuring out why your ARM launchpad keeps hanging up when you try to configure the PLL? Not so much.

My solution to this is to pick single projects and work on them until they are finished. I will hold myself accountable by making a blog post every Sunday.

The solution to being a flighty dreamer is to be more focused #FACT

The Lord accepts scheduled blog entries as praise #WHYNOT

That being said, I will reveal my first project, along with some sort of software/hardware requirements on Sunday July 13th.